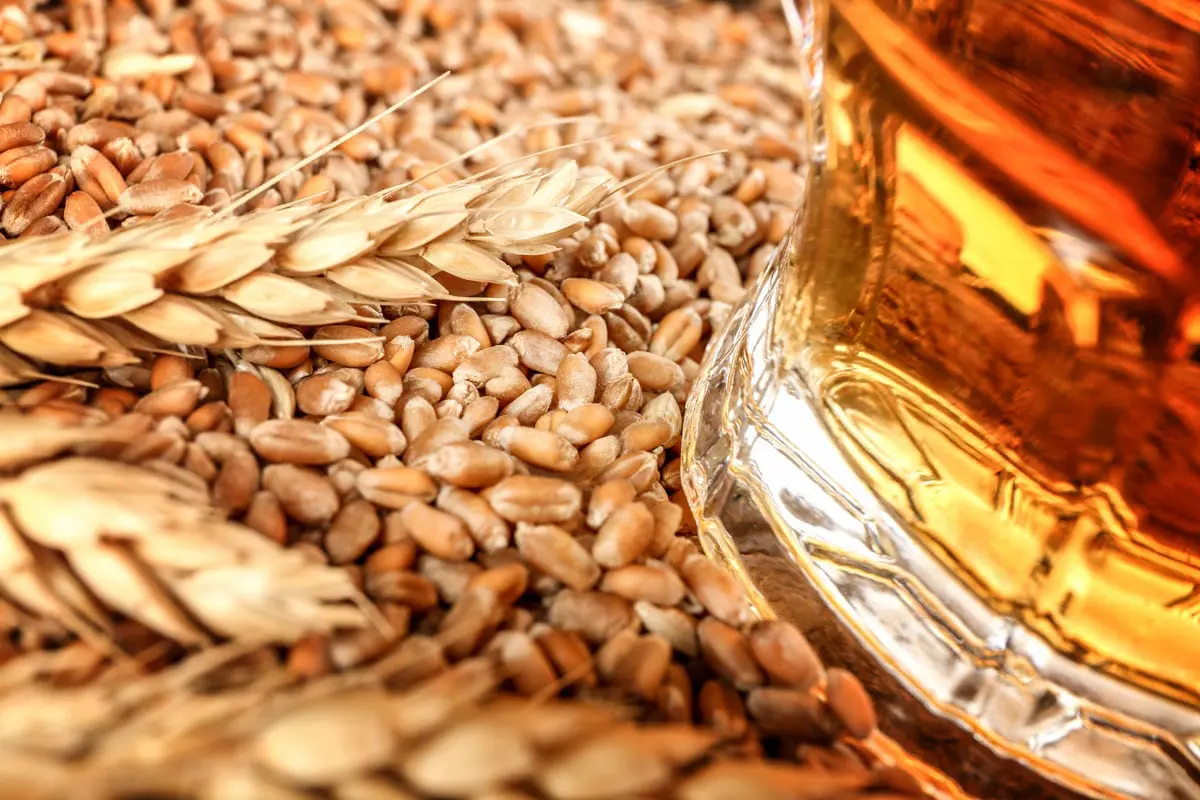
Homebrewing beer is a fun and satisfying hobby. Not only does it cost less than buying beer, it’s also a great social endeavour. Homebrewers can share their creation with friends while promoting home-based products. Brewing beer is also an artistic pursuit that lets brewers experiment with flavours and recipes.
This article will teach you how to brew beer at home, cover the necessary equipment, weigh the costs of homebrewed against store-bought beers, and recommend books by homebrew masters.
Is homebrew legal in Australia?
Homebrew is legal in Australia for individuals to produce beer and wine for personal use. Making other alcoholic drinks at home, for example spirits, is illegal without a licence and can result in penalties. Make sure you read the facts on ATO’s website.
How to Brew Beer at Home
Methods of brewing beer vary across different levels of experimental homebrewing, withadvancedbrewers constantly looking for ways to improve recipes. Beginners, on the other hand, can find guidance on how to begin here.
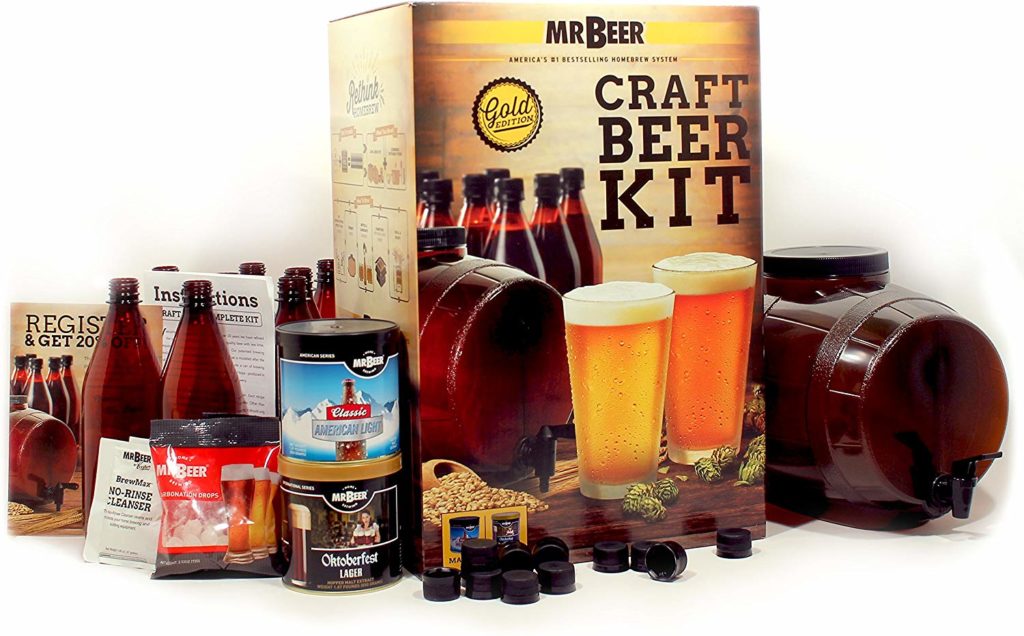
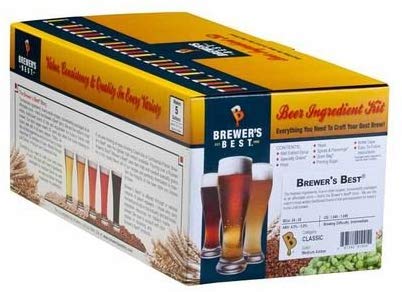
The best way to make your first homebrewed beer is by using homebrewing kits. Homebrew supply stores easily offer these starter kits specifically for beginners.
Starter packs include ingredients to brew beer, such as liquid malt extract, crushed specialty grains, hops, muslin bags, yeast and even whirfloc tablets.
Here you can find the steps it usually takes to brew beer using basic ingredients.
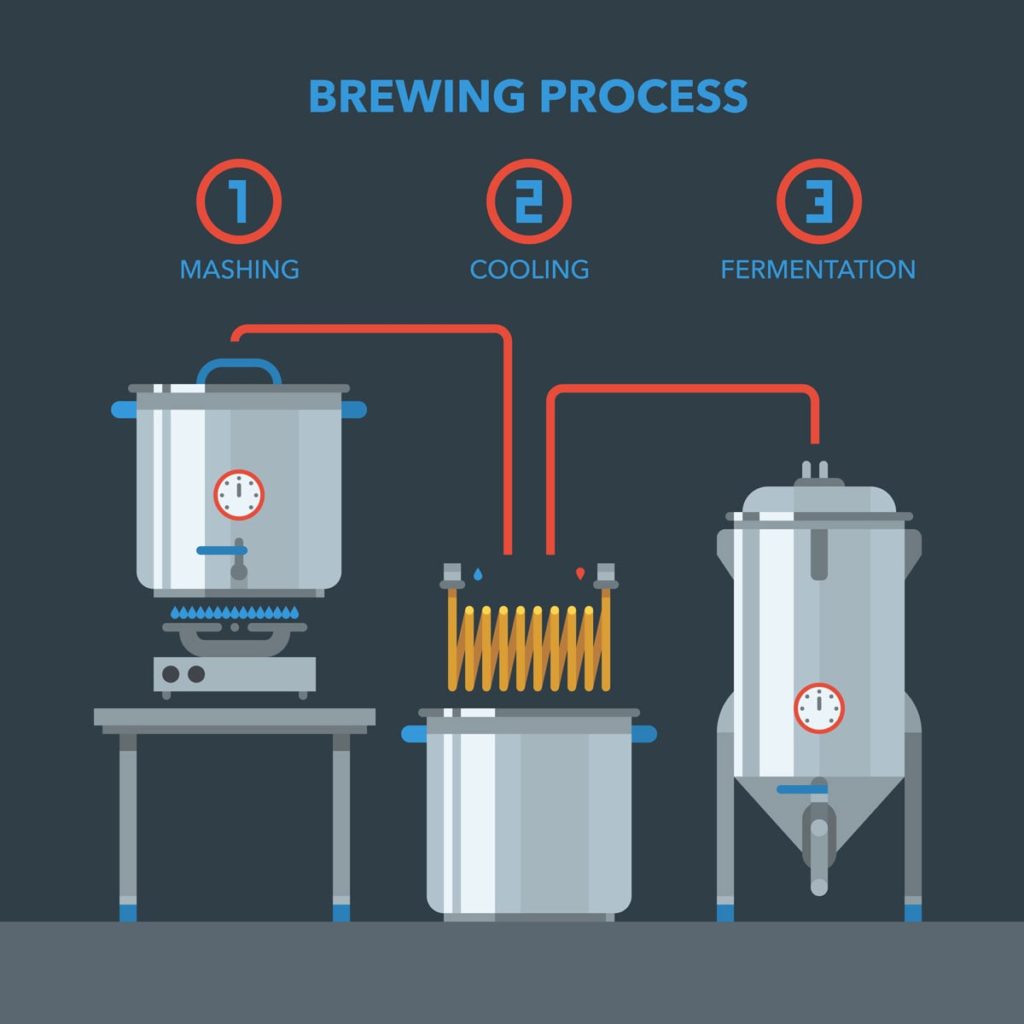
Steep Grains
Heat 23 litres of hot water. Using a stainless thermometer, check that the hot water is within 65.5°C to 76.6°C. Next, place the specialty grains inside a muslin bag then steep in hot water. Steeping the grains adds malt character to the beer. Once they start to steep, turn off the flames so that the grains don’t scorch against the heat when they reach the bottom of the pot.
Stir the grains for 30 minutes to let the colour and flavour seep out. Then, transfer the muslin bag with grains into a strainer. Extract any remaining colour and flavour from the grains by pouring a little hot water onto the muslin bag.
Prepare the Wort
Mix the malt extracts into the water and stir very thoroughly. This becomes unfermented beer, or wort. Bring the pot to a calm, rolling boil afterwards.
Next, place the hops inside a muslin bag, add it to the wort, and boil for 90 minutes. Hops counter the sweetness of the malt extract, which is important in getting the right beer flavour. Add another set of hops into the wort 15 minutes before you finish boiling.
After one hour, turn down the temperature to cool the wort. You may also use a wort chiller to help you in the cooling process.
Start Fermentation
Remove the bags of hops from the water. Then, pour the cooled wort into the fermenter using a funnel. Add cold water into the wort and fill up the fermenter. Make sure that the fermenter has plenty of room for foam.
Add yeast to the wort, which ferments at 20°C to 21°C. No need to stir as the yeast hydrates itself. After that, attach the airlock onto the fermenter’s lid. This releases gas from the fermenter while preventing airborne bacteria from entering.
Wait one to two weeks for the yeast to ferment the sugars. This releases carbon dioxide and ethyl alcohol. The beer is then ready for kegging or bottling.
How to bottle homebrews
Brewers can transfer the beer into bottles after fermentation through these four steps.
Step 1: Cleaning bottles
Cleaning is a lengthy process and requires patience. First, soak your bottles in hot, soapy water. Next, rinse them three times with fresh water. Make sure that there are no soap dregs left at the bottom.
Step 2: Sterilisation
Use a funnel to pour boiling water into the bottle. Make sure to sterilise every area of the glass. Next, add half a teaspoon of brown sugar the bottle to give the beer a bit of extra flavour.
Step 3: Transfer beer
Put an airlock into the keg and wait for it to stop bubbling before taking it out and transferring the beer into the bottle. Sterilise the kegging tool before transferring beer. One end goes to the keg pump while another goes to the bottle. Fill the bottle with beer almost to the brim.
Step 4: Add the cap
The caps are called crown seals. There are plenty of crown seals for sale online and in bulk. Using a bottle capper would be helpful in this process. With the bottles capped, the beer is now ready for distribution or consumption among friends.
Beer Brewing Equipment
Beer brewing requires precision, any one way to achieve excellence is by buying the right stuff.
Before we continue, just letting everyone know that as an Amazon Associate I earn from qualifying purchases and I use that income to operate the blog.
Kegs
Beer kegs are made of steel. Many brewers prefer them over bottles as they give off a satisfying pub vibe and clean easier. Moreover, transferring beer from the fermenter to the keg is a simple and fast process. For one, carbonation only takes hours instead of weeks. With a keg, brewers can even control or remedy carbonation levels.
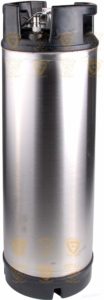
The most popular home brewing kegs are the ball lock kegs. These are widely available, especially in five-gallon sizes. They are generally cheaper and more low maintenance than other kegs.
Bottles
Bottles come in many shapes and sizes. They are low-cost and portable. However, patience is necessary when cleaning bottles and transferring beer into them. They also tend to take up plenty of space.
When using bottles, some brewers prefer recycled soda bottles. These are cheap plastic items that already come with a cap. Of course, plastic bottles won’t last very long.
Most brewers use glass bottles instead. They specifically prefer brown-coloured bottles to protect brews from sunlight. Glass bottles may come with or without caps. Those that come with caps, however, cost more.
Bottle caps are not reusable. A capper seals them in place. Cheap cappers require effort to use, unlike tabletop cappers, though they cost more.

Brew Accessories
Beer brewing requires some essential equipment. Brewing accessories are easy to find and simple to use. They also take a long time to wear down and can withstand experimental homebrewing.
Brew Kettle
The ideal brew kettle can hold approximately 23 litres of water. A 6.8-litre kettle would suffice for beginners. Most of the boiling process occurs in the brew kettle, so stainless-steel kettles are a good choice.
Cleaners and Sanitisers
Brewers can’t emphasize the importance of sanitising equipment enough. Microorganisms can easily ruin the brew.
Airlock
Carbon dioxide should escape during fermentation without air-borne bacteria getting inside the wort. An airlock ensures this, especially with the fermenter’s lid tightly closed.
Fermenter
This large vessel stores the wort as it ferments.
Stove or Burner
Heating is an essential part of beer brewing. The right tool that can heat about five to 23 litres of water. Small batches could work with stoves, but large batches would need a large capacity burner.
Thermometer and Hydrometer
Thermometers measure the water temperature while hydrometers measure the sugar density of the solution.
Wort Chiller
Using a wort chiller is the most effective way to cool down wort before fermentation takes place.
Home Brewing Kits
Most beers require only four main ingredients: hops, grains or malt extract, yeast and water. Most starter kits already include these essential ingredients.
Liquid malt extract
Using malt extracts saves time and space. It skips the all-grain mashing process and lessens the need for more equipment. It’s also a great introduction to new brewers.
Crushed specialty grains
There are several kinds of grains, but the most commonly used type is barley. Other beer recipes use other types like wheat and corn.
Hops
Hops provide flavour and aroma to the beer. They also prevent bacteria growth and work against the fermented beer’s sweetness. Different hops provide different flavours.
Yeast
Yeast converts sugar into carbon dioxide, fermenting the wort.
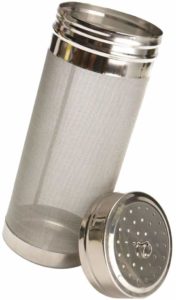
Filters, Funnels and Strainers
A funnel easily transfers wort into a fermenter and fermented beer into bottles or kegs. Some brewers want to separate sediment that develops during the boiling process. In such cases, they use a stainless-steel strainer along with the funnel to filter out the dregs.
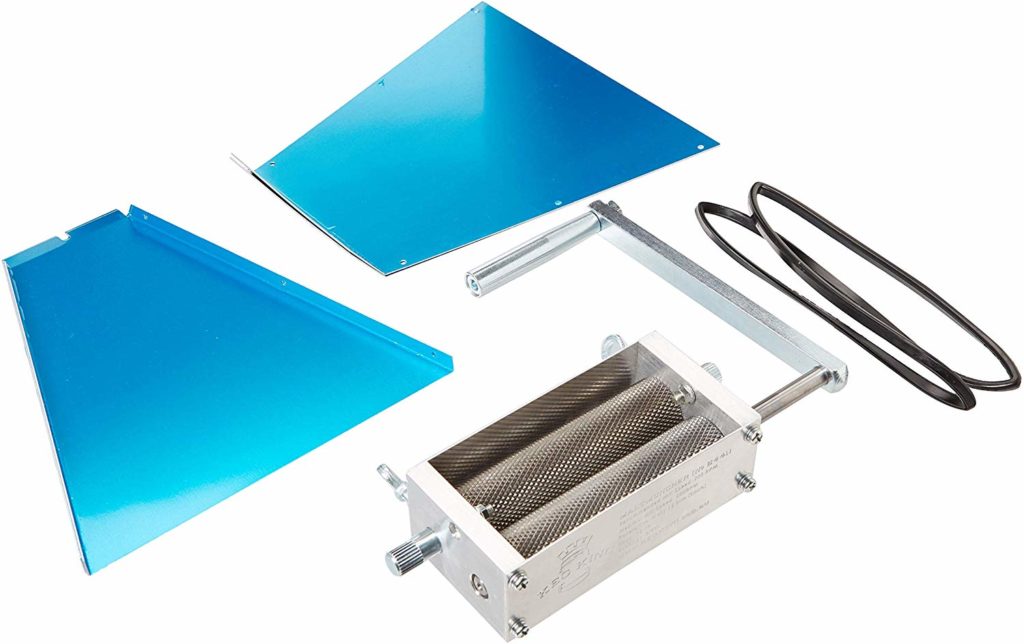
Grain Mills
Grain mills crush the husk just enough to let the starch out. They typically come with two adjustable rollers. A seven-kilogram bucket can hold six kilograms of grain and mill a full hopper within 90 seconds. Power tools, such as drills, aid grain mills. Brewers sometimes prefer to tweak their grain mills for maximum efficiency.
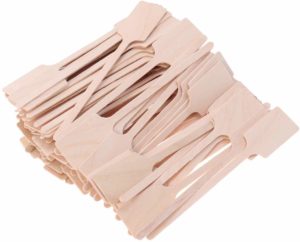
Stirring Utensils
Stirring utensils can either be plastic or stainless steel. These materials are safe to use on wort and won’t affect the flavour of the brew, though plastic spoons need to be heat resistant. A large steel spoon is ideal for most brewers as these can stir in yeast and hops. They are also easier to clean and sterilise. On the other hand, a paddle would be great for breaking apart ingredients that have clumped together.
The cost of homebrew
Many people opt to brew their own beer precisely because it’s cheaper than buying store-bought beer. To illustrate, the average cost of beer in Sydney is around $7.87, making the Harbour City one of the most expensive cities for buying beer. If you buy six packs a week, it would cost you around $409 a year plus tax.
On the other hand, a basic starter kit which already includes grains, hops, yeast, bottle caps, brewing procedures, fermentable and grain bags, costs about $81. That already makes 23 litres or around 8.3 six-pack beers.
Assuming that you’ll have enough beer to last every two months, you’ll only need about six additional batches for the year. Each batch will cost $46.57, with the malt extract at $29.92 and the yeast at $16.65. All in all, that will cost you $359.95 a year. This means homebrewing saves you approximately $49.05 a year.
Homebrewing Book Guides
Homebrew novices will benefit from more guidance while advanced brewers may want to improve their existing beer recipes. These books by brew gurus are great reference points for any level.
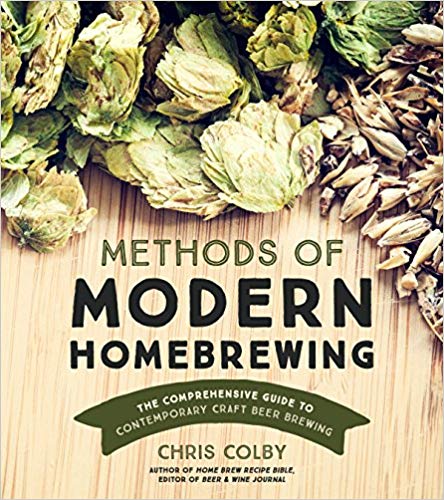
Methods of Modern Homebrewing: The Comprehensive Guide to Contemporary Craft Beer Brewing – Chris Colby
Chris Colby presents this organised tutorial to help new brewers transition from basic to advanced techniques. Organised and easy to read, the book includes several recipes for 50 beer styles. Its pages are filled with colour photographs and illustrations, which easily draws in the reader. Overall, the book uses a practical approach to simplify the homebrewing process.
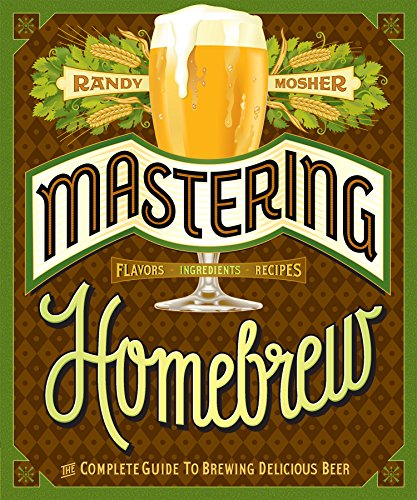
Mastering Homebrew: The Complete Guide to Brewing Delicious Beer – Randy Mosher
Written from the perspective of an artist, Randy Mosher attaches flavour to building and designing beer. This comprehensive guide to beer brewing is packed with graphics and photos. Aside from basic and advanced methods, the book also includes new techniques that are relevant in the field today. It’s a great walkthrough for both beginners and veterans.
How to Brew: Everything You Need to Know to Brew Great Beer Every Time – John Palmer
Many consider John Palmer’s book as the Bible of homebrewing. It provides step-by-step instructions on how to brew beer at home, as well as formal and technical equations on improving beer. Comprehensive and well-constructed, this is the perfect reference for those who are new to the idea of home brewing and would like to make a hobby out of it.

The Joy of Brewing Cider, Mead, and Herbal Wine: How to Craft Seasonal Fast-Brew Favorites at Home – Nancy Koziol
In her book, Koziol focuses on sustainability by homebrewing smaller batches. The book is divided into three parts (mead, cider and herbal wine), all of which detail the basic equipment and ingredients in homebrewing. Complete with fun facts on the history of ancient brews, sustainable agriculture and ethical sourcing, this is a fun book to read.
Session Beers: Brewing for Flavor and Balance – Jennifer Talley
The focus of Talley’s book is the art of making session beer, the most challenging type of beer to brew. The book explores recipes that make both low-alcohol beer and stronger classic beer ‘sessionable.’ It includes a history behind world-renowned session beers and tips from brew masters. It also brings attention to session beers as a fun-filled activity.


1 Comment
Wonderful guide! The step-by-step instructions make brewing beer at home seem so achievable. Thanks for the helpful tips.